Showing posts with label felting. Show all posts

Sunday, May 14, 2017

A New StoryWalk

"Taan's Moons" by Alison Gear was created on Haida Gwaii,
the most western part of Canada.
The book was given to families entering kindergarten last fall.
All the pictures were created with the children in kindergarten and grade 1 
on Haida Gwaii with artist Kiki van der Heiden.
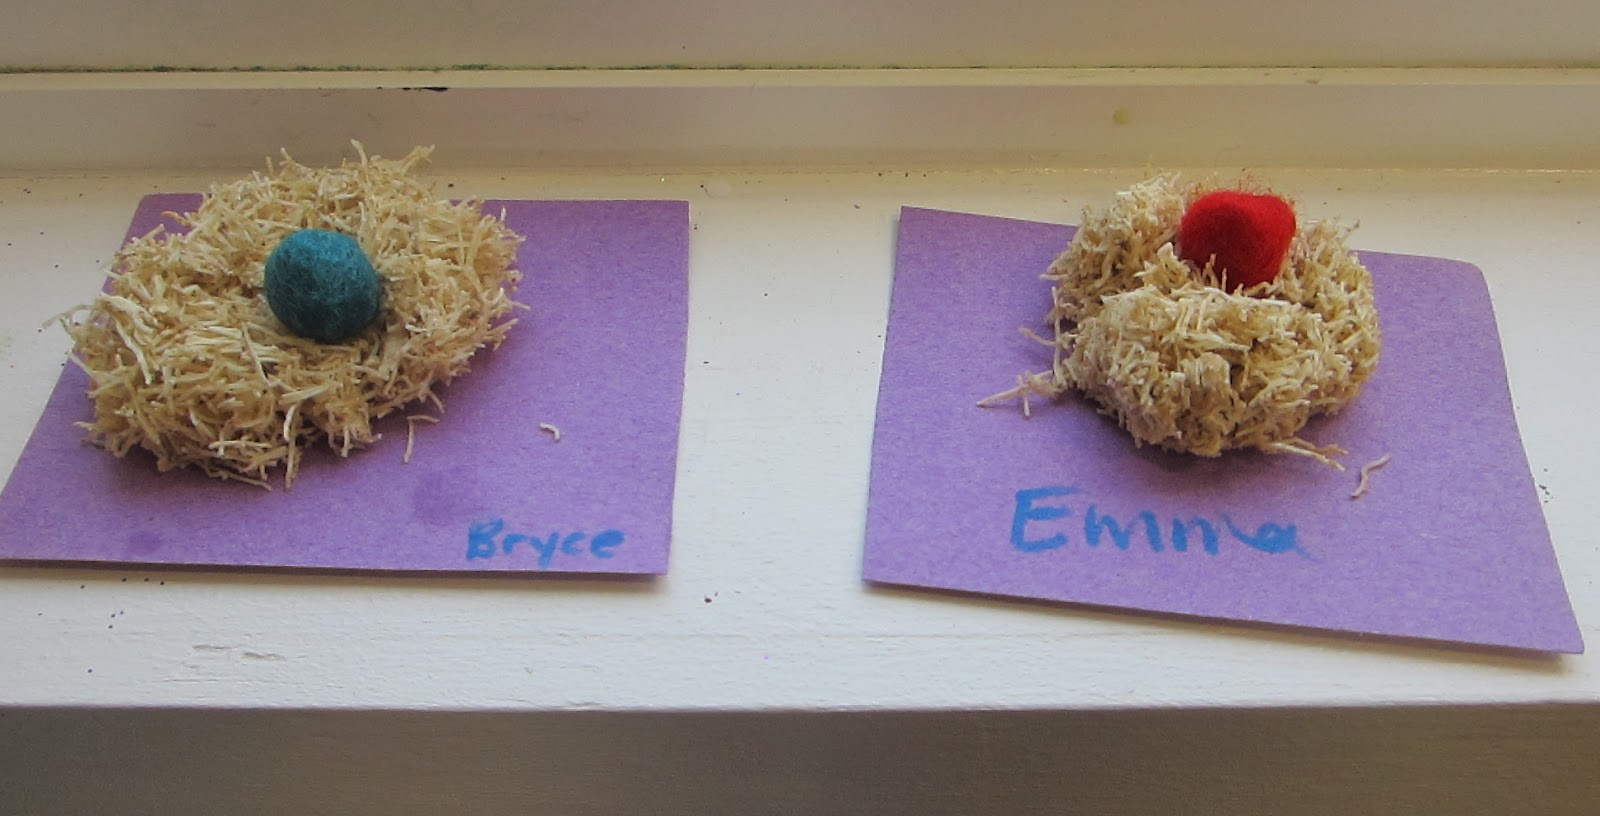
The pictures in the book were created by using a method of wet felting.
Since we were doing this in a limited time I decided
to try needle felting with the families.
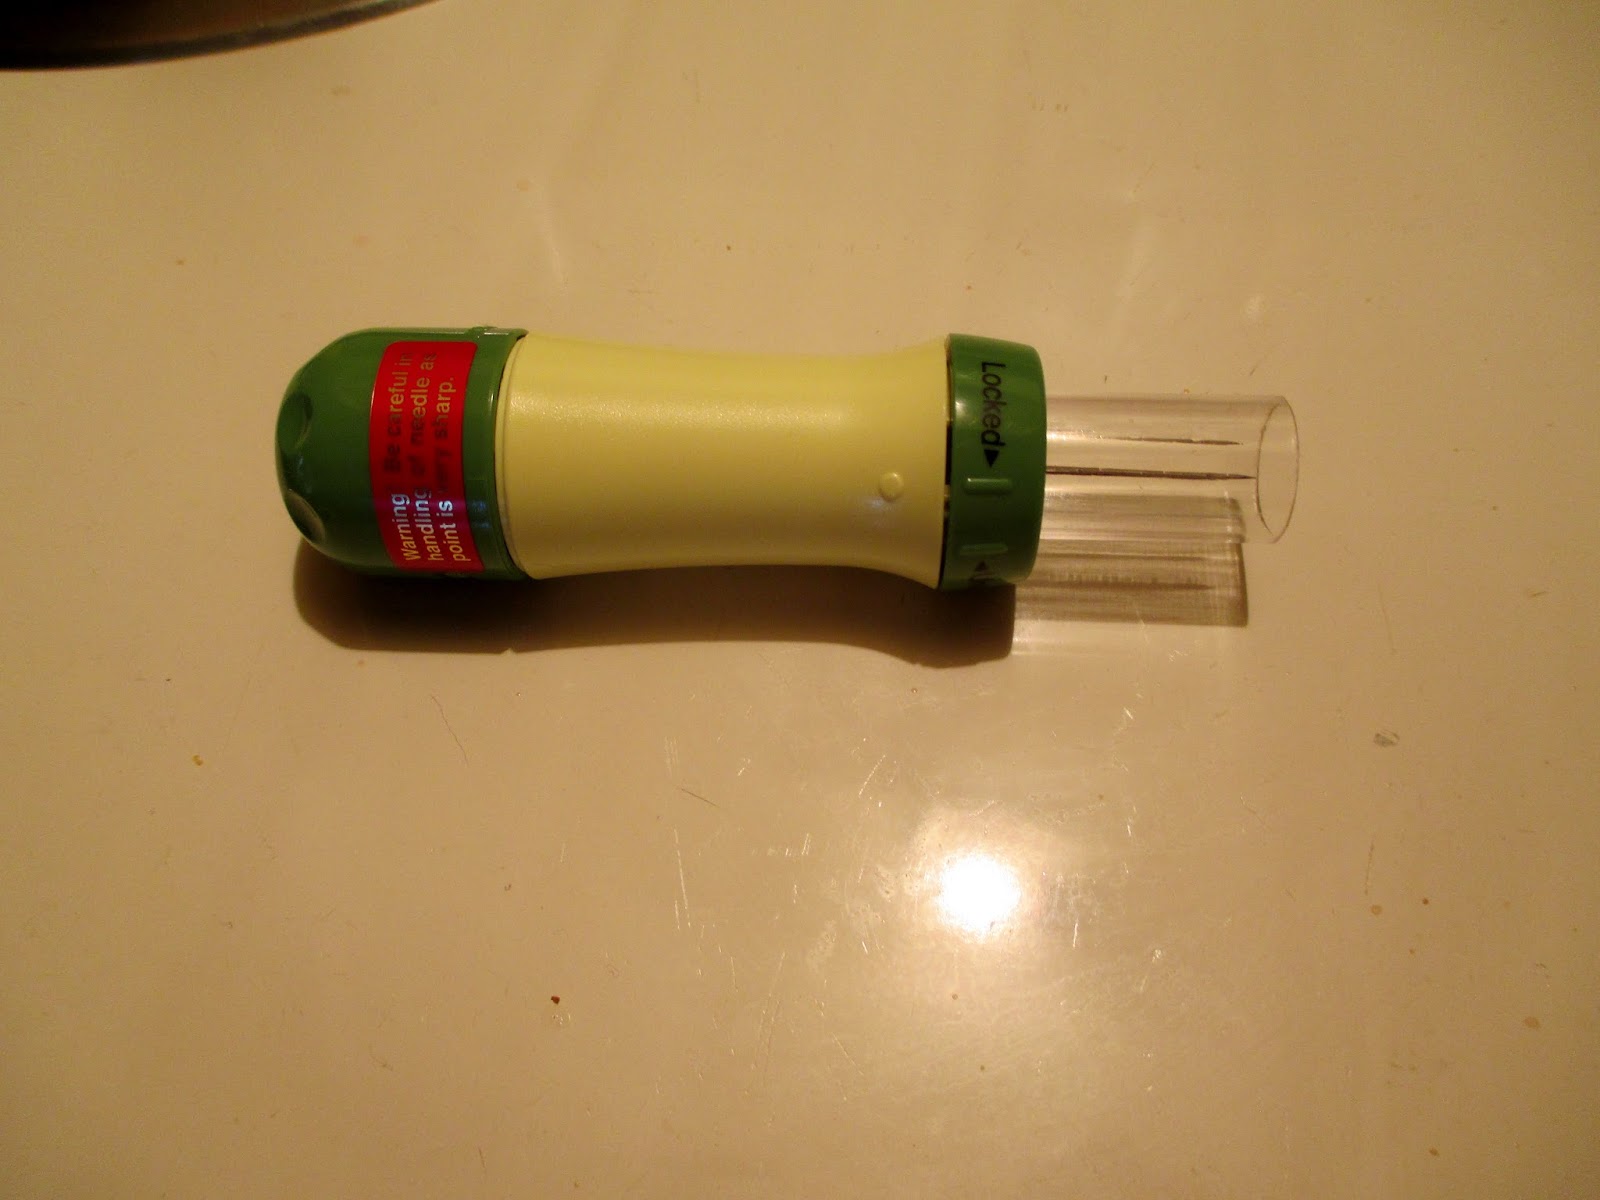
I thought long about how to keep this a safe activity and found 
a multi-needle that has a safe guard.
We started by pulling the roving apart and laying it on a piece of felt.
Next the children took turns needling it.  This will be the background of our picture.
Then we went outside to read the book.
This was our evening session so we had older siblings that could help with the reading.
The book is about Taan, which in the Haida language means bear,
and how he sees a year go by.
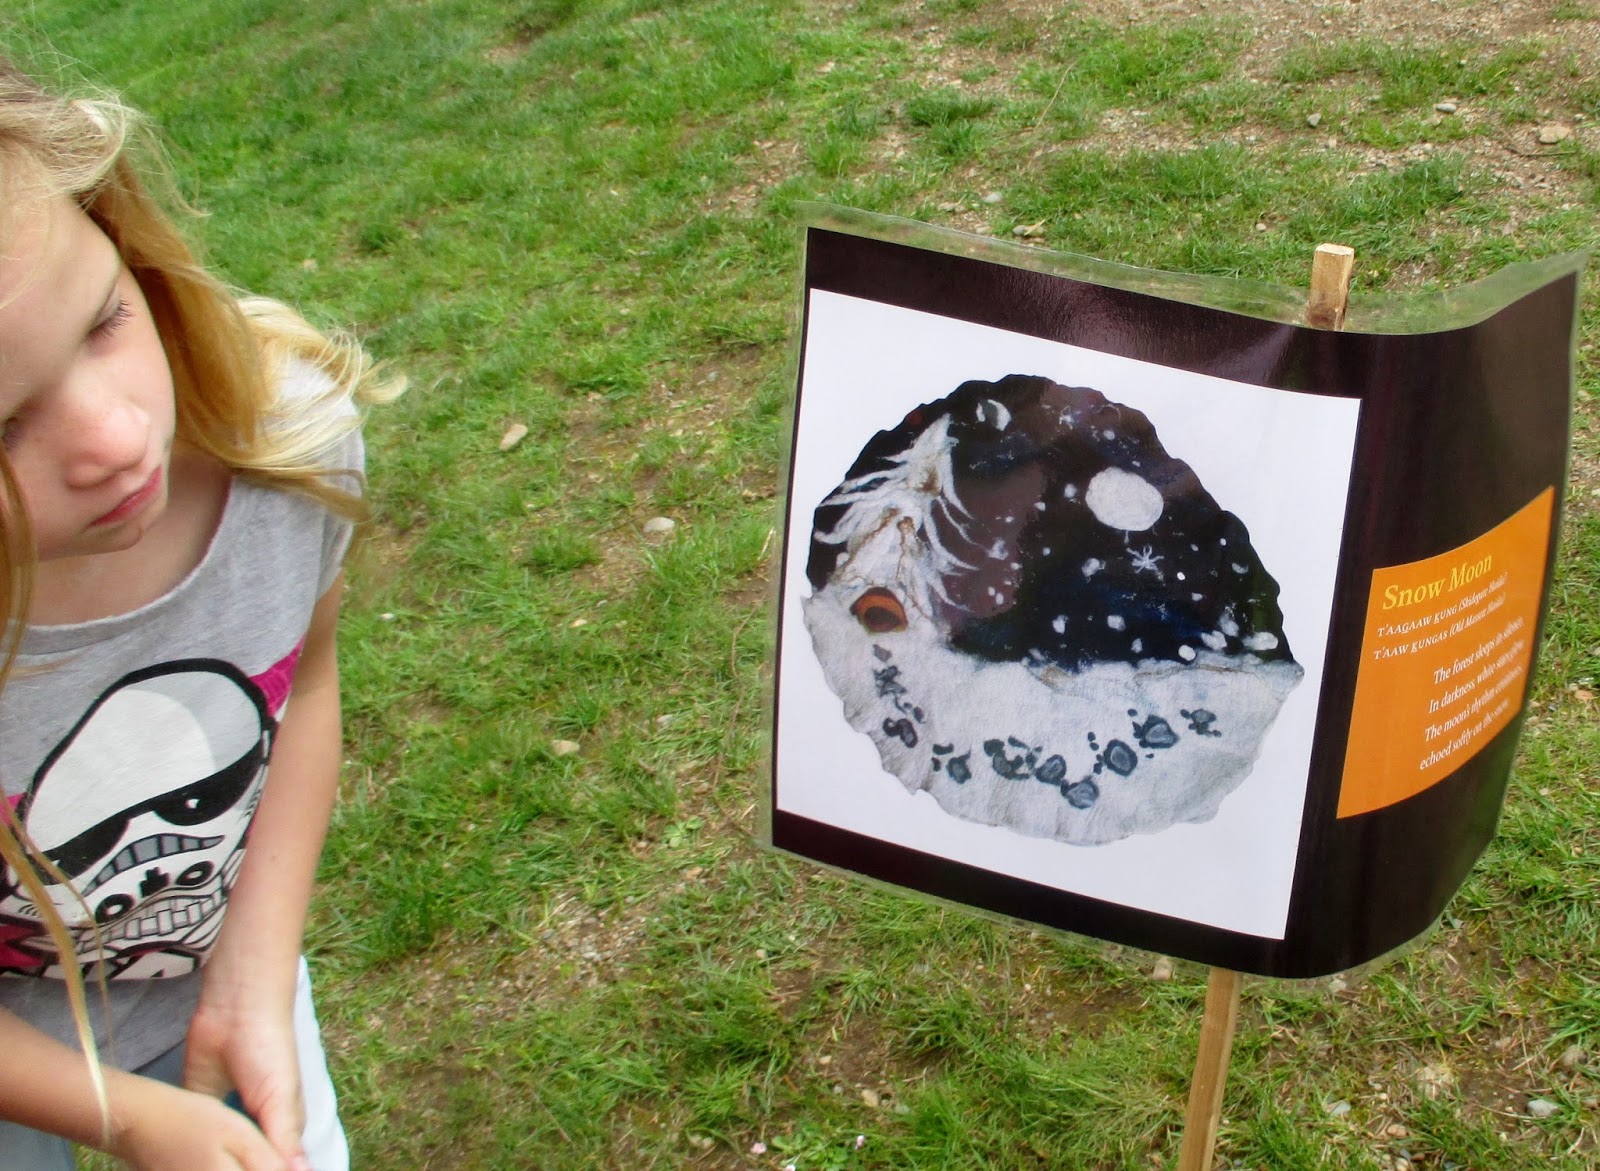
As we read the book each child picked a colour of wool.
Back in school we started to create our picture.
First we started with brown to make Taan.
Then I asked the children what should Taan be seeing or doing
and they decided they wanted a rainbow.
They placed the wool in the order they wanted their colours 
then we took turns needling it.
One child took a strong interest in this project
and needled most of the rainbow.
Then her little sister helped add clouds.
For our first time trying needle felting I think it turned out really well.


Friday, July 19, 2013

Wet Felting

                july 15 003
This year I learned a new technique for wet felting using a ziplock bag.
           march 5 008
You need wool roving, ziplock bag (we used a large bag), dish soap and water. 
Gently pull the roving apart in small pieces and layer it in your ziplock bag. 
Do several layers changing the direction you lay the roving for each layer. 
This will be the background of your piece.
           march 5 047
Next I had the children choose the colour of roving they each wanted to
use and had them pull a piece apart and place it on the background
colour. 
march 5 054 march 5 055
In the pictures above I had them dip their piece of roving in water first,
I won’t do that again as it proved to be unnecessary.
                 march 5 056
Once all the pieces are in the bag, spray it all with water and squirt some
dish soap in the bag.  Seal it and then let the children rub and rub and rub.
march 5 057 march 6 020
Flip it over and keep on rubbing.  Pass it around and let everyone have a turn.
  feb 14 018 feb 14 028
As you rub, the agitation, the soap and water helps the wool felt together.  Be
sure you rub the edges too otherwise you’ll be able to pull it apart when you
take it out.
       july 15 001
As an adult it took me about 15 minutes of constant rubbing to finish the
felting project.  So it may take all day with children helping depending on
their interest. 
To test if it is finished, open the bag and gently tug on the wool.  If it
doesn’t pull apart then it is done but if it does then close bag again and
keep rubbing.
When you think it is finished take it out of the bag and gently rinse it
under running water then lay flat to dry.
     may 28 011
This is the only photo I have of the the big group project
(framed on the wall in the top left corner of photo).

Thursday, February 14, 2013

A Glimpse at our Valentines Day

feb 12 003  feb 14 021
                                 Light Table

feb 12 002  feb 12 009
                                 Sensory Bin

feb 14 028 feb 14 081
                               Wet Felting

feb 14 012 feb 14 015
                              Friendship Salad

        feb 8 040
                                 Card Writing

feb 14 031 feb 14 069
                                  Spritz Art

     feb 14 001
                 Hope you had a lovely day.

Friday, February 24, 2012

Wet Felted Eggs

We tried wet felting for the first time at StrongStart.
I took a workshop last fall and really enjoyed it.
Then I found this blog that makes it real easy to do with little children.
We made felt eggs.
Unfortunately the little containers I bought did not seal tight
so we had to wrap them in paper towel.
This little guy will show you how to make them.
 Pick your felt and put it in the container
that is about half full of soapy water.
(You do not need much soap)
 Put the lid on tight.
 Shake, shake, shake some more.
This was the perfect time to talk about directions.
Shake it up and down, back and forth, side to side.
And then you have your egg.
At the other end of the craft table we made these little nests for our eggs.
 Start with shredded wheat.
And break it into little pieces.
Add glue and mix together and shape into a ball.
We used our thumb to press an indent into the middle.
Just the right size for our egg to sit in.
I wasn't sure how this activity would go but the children and the grown ups
really enjoyed it.
 It drew children in that normally didn't do crafts.
This little boy really liked making the eggs
but wasn't interested in making a nest.