Friday, December 10, 2010

Welcome to My StrongStart Centre


I thought I would give you a photo tour of my centre.


Adult's perspective when you enter the main room.


The snack area. Snack is available all morning. We use to eat as a group but last year we really tried to cut down on the number of transitions that happened. Also we took in to account that children need to listen to their bodies and eat when they are hungry. It works very well for us.


A multi-purpose area. Available for puzzles, fine motor, overflow from the snack table, etc. I've really stretched my comfort zone and realized that children need the freedom to move from one area to another with any toy at any given time to explore different and new ways to play.


The floor area with blocks, trees, shells, rocks, people, cars, ramps, houses, different textured mats. Plus the riser allows for children (our range is from birth to 5) to comfortably sit, stand or kneel to play. Also allows parents a comfortable place to sit rather than on the floor. Since adding the riser I've seen more of the grown-ups participating in the play than before.


The story/infant area. With big book stand, comfy chairs, books, and some infant/toddler toys.


A small play area for play dough, having a pretend cup or tea or hammering. There is a shelf that hold science and observation materials. Plus our fish tank is there which the children enjoy feeding everyday.


The craft area. Last year this was a very small space and I found not many children used it. So after expanding and making it feel more open it has become a well used area of the room.

And that is the end of our main room.

Across the hall I'm lucky to have a second room.


This room provides more open space for larger movement. It has our larger cars and trucks.


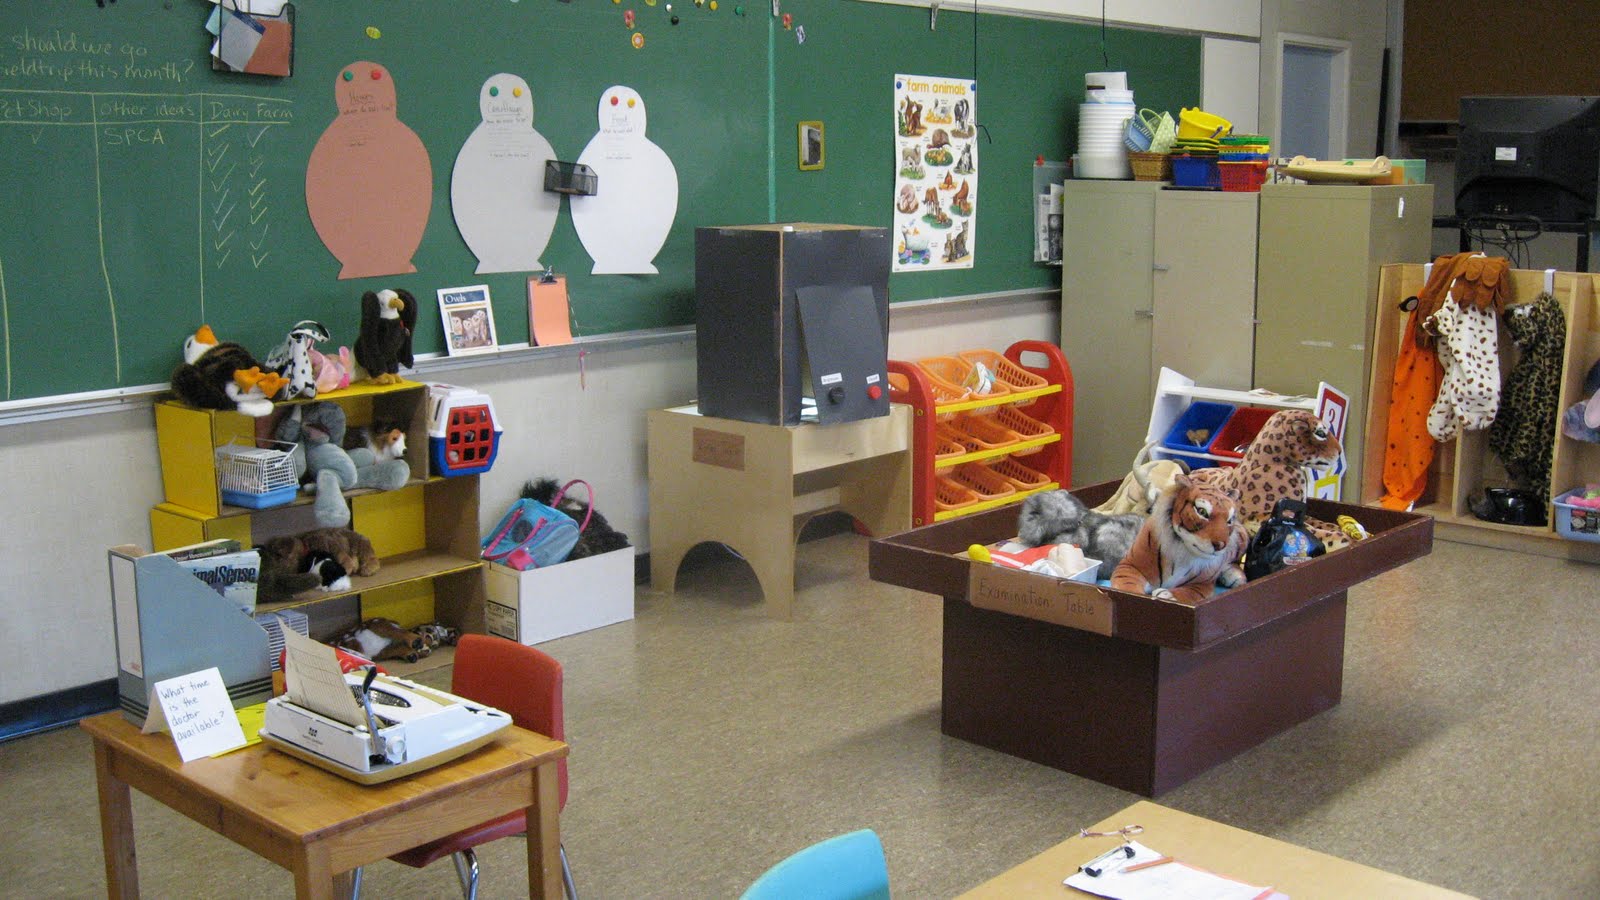
It has our dramatic play area, which in this picture is a vet centre.


A different shot of the room standing at the entrance.


And the house area, plus at the time of this photo we had a second dramatic play area going on - a hair salon.

Wednesday, December 8, 2010

Reindeer Shaped Snack


We had fun at the snack table making reindeer to eat.
On our snack table we have menus of choice for the day. Another way to incorporate literacy (written word in this case) into the day.
How to make a reindeer for snack.


Tuesday, December 7, 2010

WeeHands Challenge Today


Today we participated in the WeeHands Challenge.


We had 7 children and 10 adults come together to celebrate.


We had a lot of fun singing and signing at our public library.

Monday, December 6, 2010

Spin Art Stars


One of our favourite crafts involves a salad spinner. Such a simple and inexpensive craft but with great results. Spinners, paint, star-shaped paper and today we added glitter.


With paper placed in the bottom of the salad spinner, dribble paint all around.


Make sure the lid is on tight.
(And if you are going to buy a salad spinner be sure it doesn't have holes in the bottom.)


Then turn the knob around and around, the faster you spin it the more spread out the paint will go.


Open the lid to check out the results.

Saturday, December 4, 2010

Gingerbread Update


We've received mail about our Runaway Gingerbread Men.
My sister visiting Georgia, USA, sent us pictures and a story about seeing gingerbread men. We really enjoyed hearing about the crocodile asking a gingerbread man if he wanted a ride across the pond. Luckily our gingerbread man was clever enough not to be tricked.
We heard from a Kindergarten class in Cold Lake, Alberta, Canada.
They saw gingerbread men parachuting from a jet above the airforce base.
Then at the playground they're sure they saw gingerbread men making snowangels in the snow.

Closer to home, they've been spotted by the Qualicum train station and at the gymnastics class at the Comox rec centre.

Have you spotted our gingerbread in your town?
I can't wait to hear more news next week.


Friday, December 3, 2010

Christmas Cards

Today we made Christmas cards. We used the styrofoam stencil method.
I used cookie cutters to make an impression in the styrofoam tray.


Then they used paint rollers to cover the stencil.


Cover it with paper and press.


Uncover to see your work.


We used ribbon, buttons, wiggly eyes and snowflake confetti to decorate.

Pretty and inexpensive.


Thursday, December 2, 2010

Building Cars

We changed our dramatic play area yesterday. Gone is the vet/animal rescue centre and now it's an open space with road traffic signs, balance beams, big waffle blocks and trucks.
I also gathered some smaller sized boxes that the children could fit in and use for vehicles.
We cut open the bottom of the box then folded in the flaps.


Using our collection of different lids they decorated their vehicle. Lights, switches, steering wheels, window wipers and more.

The shoulder straps helped to carry it as they drove.
Some just preferred to park.