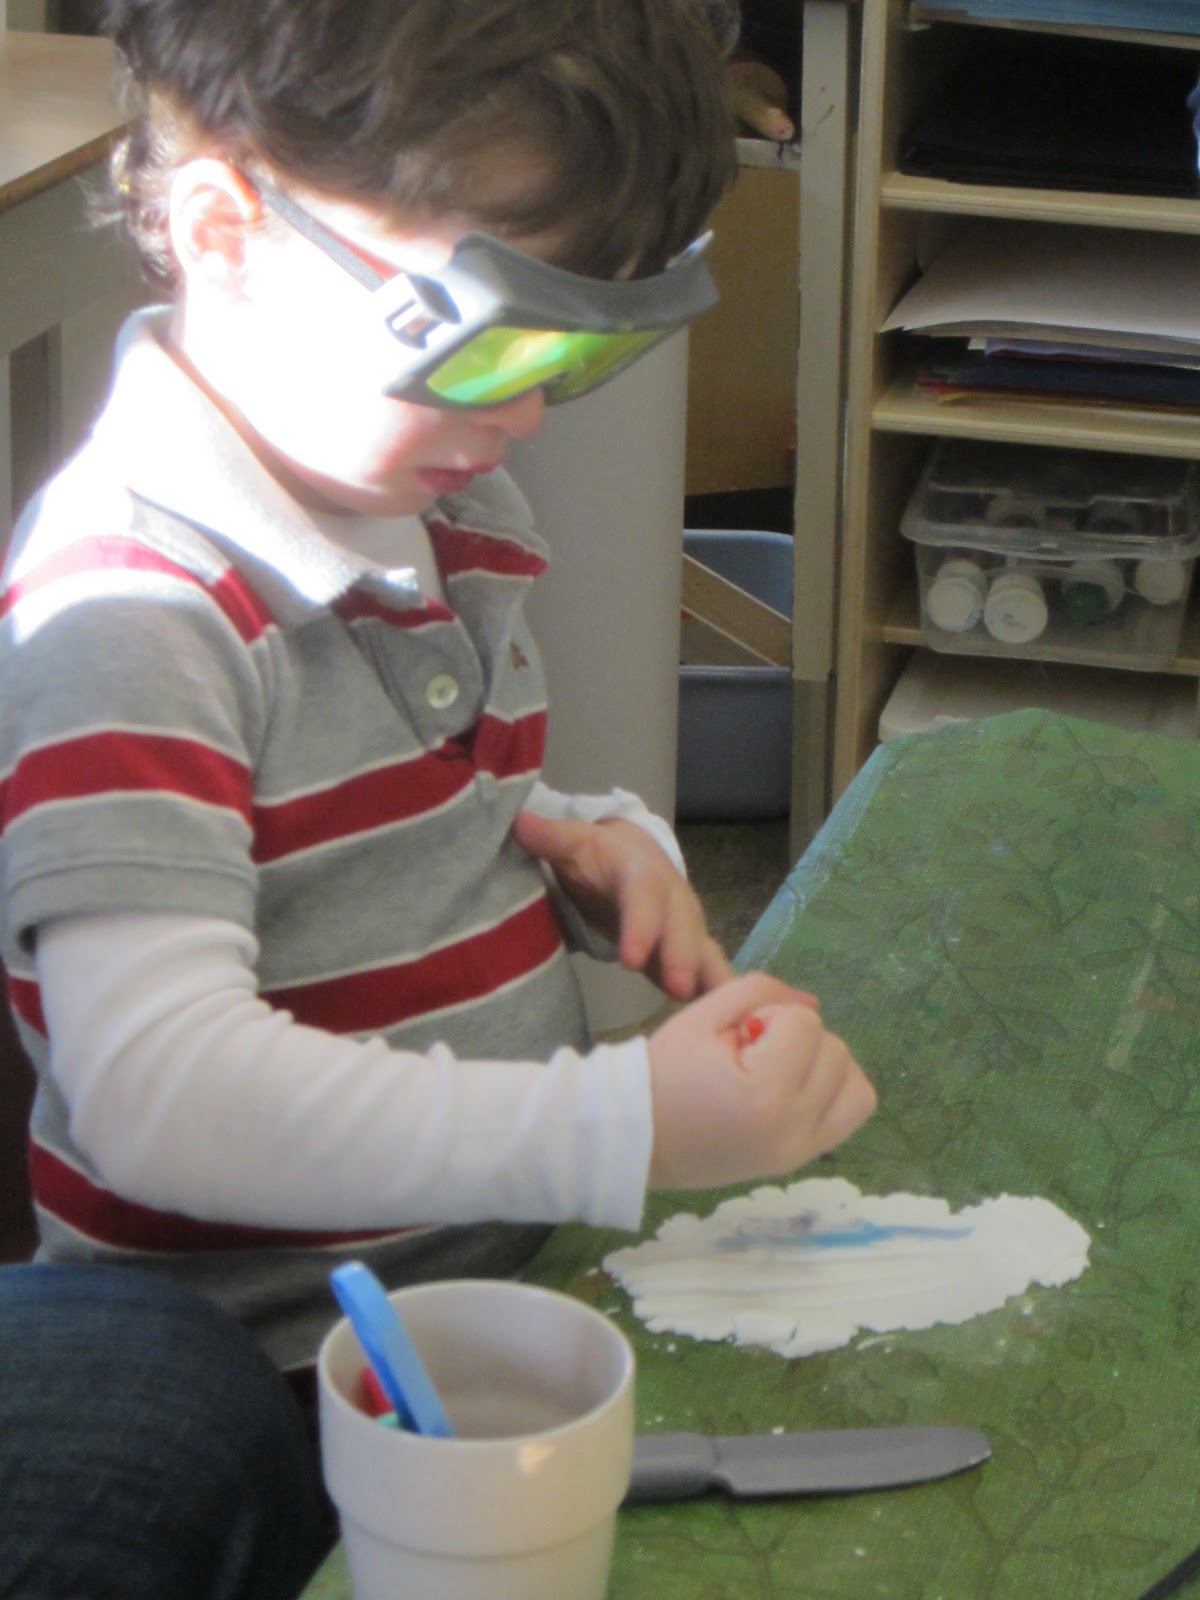
Without much success with our baking soda clay yesterday, I still attempted another new recipe today, Coffee Ground Clay for making fossils.
It worked much better and the look is a lot more appealing.
What I liked about the baking soda clay more was the smooth consistency where the coffee ground clay with gritty.
Here's how it went today.
The fossil on the left was made with the baking soda clay and on the right with the coffee ground clay.
Tuesday, November 15, 2011
Laryngitis
Do you know what I love most about my job?
The families!
Everyday is a different mix of families and I try to get to know them well and them me.
Today I went to school with no voice, yes I have laryngitis.
Luckily I feel great otherwise.
Being almost voicelss gave me an opportunity to step back and listen to the families interact with each other and with their children.
My only worry was about story time.
How do I lead the songs and the stories.
The families are again the answer.
I have been using more and more sign language in the program and singing the same songs on a regular basis made it easy for the families to lead us through.
Then I picked a story that was a well read favourite so they could do the same.
We read "Pete the Cat" and the families sang Pete's song throughout.
I was impressed that the community that has developed in our StrongStart program is a strong one.
We work together.
Monday, November 14, 2011
Baking Soda Clay
Have you tried this recipe before?
Baking Soda Clay
2 cups baking soda
1 1/4 cup water
1 cup cornstarch
Combine all ingredients in a pot. Add color if desired. Stir while heating on low for about 15 minutes. Remove from heat and continue stirring. When it begins to look like mashed potatoes, it’s ready! Store in an air-tight container until ready to be used. Clay dries in about 12 hours (depending upon the thickness of the creation.) Once dry, the clay can be painted or colored with markers!
It was my first time and I liked the idea that it would air dry fairly quickly.
But as we attempted to make dinosaur shapes the clay crumbled apart.
We changed tactics and used rolling pins and cookie cutters.
Instead of waiting for the clay to dry we decided to paint it right away.
I'll be looking for a new recipe.
If you have a favourite let me know.
Thanks
Thursday, November 10, 2011
Dinosaur Feet
How big would a T-Rex's footprint be?
The same size as our foot or bigger?
We imagined it would be bigger.
But how much bigger?
We took off our shoes and placed them on the dino footprint.
Still not enough shoes to cover it so we had to ask more children to bring their shoes.
Then finally we had enough to cover the whole print.
We estimated how many shoes there are...
eleventen, 26, 3
Next we counted and found that it took 34 shoes to cover one dinosaur footprint.
Wow!
Then we read "Prehistoric Actual Size" by Steve Jenkins
and learned more about the size of prehistoric creatures.
At the art table we helped the dinosaurs make footprints.
Wednesday, November 9, 2011
Gingerbread Creation 2011
Every year we create, make and donate a gingerbread scene to our local Boys & Girls Club for their fundraiser.
The past several years we've created pirate scenes, playgrounds and pop up story books.
This year it was voted that we would make a castle scene.
Our grade 3 big buddies each drew a picture of what a castle scene may look like.
I gathered all their ideas and came up with one picture.
Then we brainstormed to make sure all the ideas were included.
Today big and little buddies got together to start making the gingerbread people and animals.
We decided that we would need knights, serfs (people), kings, queens,
horses and shields to start.
Tomorrow just the big buddies will make the castle and turret walls.
And of course a dragon.
Tuesday, November 8, 2011
Non Messy Cooperative Painting
Another StrongStart facilitator did this at her centre and posted it on Facebook.
I immediately loved it.
Clear plastic shower curtain folded in half.
Lay paper on top of first half of plastic.
Add paint.
Fold plastic over top and tuck in edges.
Ready. Set. Smoosch.
It takes a lot of fine motor muscle to move the paint around.
We also attempted to write on it by using our finger for a writing tool.
Because it is sealed the little ones could easily be involved.
That was our second attempt.
Here was day one.
I learned to use a heavier paper.
And to take the paper out the same day.
I had left it overnight and the paper had disintegrated.
Tomorrow I think I'll place cars and trucks on top and see what marks they will make.
Will let you know how it looks.
Monday, November 7, 2011
Dinosaur Skin
What colour were dinosaurs?
What did their skin look like?
Those are a couple of questions that were asked today around the art table.
We used various sized bubble wrap to give the effect of skin.
The children loved painting on it,
as well as popping the occasional bubble.
We kept adding new colours because we don't know what the true colours are of dinosaurs.
Then we pressed the paper on top to make a print.
And voila we created our own dinosaur.
What to name it?
Hmmm?
There's the Daddy Dinosaur.
Big Dinosaur Skin
Coloured Dinosaurs
And a Valosorapter.
Subscribe to:
Posts (Atom)