Wednesday, April 17, 2013

Touch Scavenger Hunt – Part 2

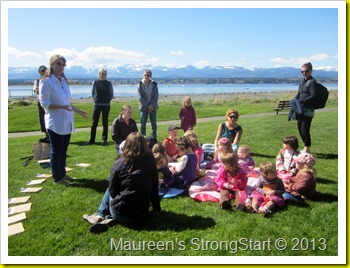
After we finished the Scavenger Hunt we sorted items by how they felt. 
          april 16 063
We reviewed all the different words they used to describe the items they found and then I handed them new items to touch.  Their clipboards were laid out with one descriptive word on each.
april 16 060 april 16 062
april 16 064 april 16 065
As they examined their item I asked them to think of a word to describe it.  The little girl in the last picture is telling me that the bark is ‘crunchy’.  English is her second language and she comes out with this delicious word – I was in awe.
           april 16 066
We made up a word card that said ‘crunchy’ and she added her bark.
           april 16 067 (2)
The rest of the children got up and placed their nature object with the word that they chose to describe it.
april 16 068  april 16 073
Then together, with their grown up, they looked and talked about all the rest.
april 16 085 IMG_1235
As they talked about the items they noticed that some could be described in more than one way.  They solved this by overlapping the boards.
         april 16 082
When done we collected it all, took it back to school and set it up for children who didn’t come to the park.
april 16 100  ril 17 074
What could we do as a next step?
Tuesday, April 16, 2013

Touch Scavenger Hunt - Part 1

It turned out to be a fantastic day to be outside.  The sun was warm
and welcoming.
             april 16 061
We went to Filberg Park for a scavenger hunt.  A touch scavenger hunt.  Encouraging the children to use descriptive words when touching items found in nature.
           april 16 088
I also wanted to encourage the use of the word “wonder”.   Hopefully leading the children to voice many other wonders. 
              april 16 037
In each nature bag was their clip board with the “I wonder” question on it with three photos of things to find around the park.  As well as crayons for recording.
                   april 16 038 
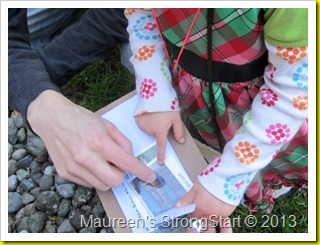
Once they found an item they were encouraged to touch it and think of a word to describe it.
april 16 091 april 16 093
They then recorded what they felt by drawing a picture or the grown up wrote the words.


My favourite observation was this little boy.  His picture was of a wooden face.  He found the sculpture and took his time looking at the photo and the sculpture. 
april 16 053 april 16 055 april 16 054
We asked him to find the nose, eyes and mouth on the wooden face and on his own face.  Even though he does not yet have much language this was a full and meaningful experience for him.

Some families mentioned that they come to visit this park quite often but had never noticed some of the things I had taken photos of.  By cropping the pictures to show only a portion of an item helped the families look more closely at the environment around them.

Monday, April 15, 2013

Our Flower Paintings Garden

         april 11 084
Last week we painted flowers using everyday utensils.  I showed our daffodil paintings last week so to follow are; orchids, roses and tulips.
     april 9 008
First we painted purple flowers, with the orchid as the main flower, using
drinking straws.
april 9 049 april 9 012
One end of the large straw was slit and folded back so when it was dipped in paint then stamped on paper it left a 4, 5, or 6 point mark depending how many slits I cut.
        april 9 052 april 9 053
To add stems and leaves we used an eye dropper to drip green paint on to their pictures,
               april 9 050
then used a smaller straw to blow the paint around.
april 9 062 april 9 061

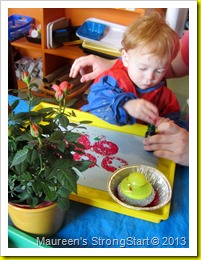
Next we explored roses and used scouring pads to paint them with pink paint.
april 10 027  april 10 029
And egg cartons cut into single cups dipped into white paint.
april 10 009  april 10 010
We used the eye droppers to draw the stems.
        april 10 019 april 10 028
I found the little brown bottles and eye droppers at a recycling store in Vancouver.  They are the perfect size for the little one’s hands.
april 10 031 april 10 032

Lastly we painted tulips.  I found this idea at Blog Me Mom.
 april 11 050 april 11 047
Forks are dipped into paint then pressed on to paper to make the flower.
april 11 034  april 11 046
I made stem shapes from foam meat trays and glued a clothespin to the back for easy dipping in the paint.
april 11 086 april 11 087

I guess we could of called all these paintings ‘kitchen’ art since all the implements
could be found in that room of the house.
        april 11 083
            How does your art garden grow?