Tuesday, May 21, 2013

Horse Play

       may 17 029
Tomorrow we are going to visit horses at the Therapeutic Riding
Stables.   For the past several weeks of school we’ve been preparing
for our visit.
may 6 040 may 6 039
One week it was our sign in question.  The majority of children
do like horses.
may 6 053 may 21 002
We dug out all our horses from the animal baskets and set them up
in different play scenarios around the room.
may 17 002  may 17 022
I’ve been collecting hobby horses from thrift stores and set them
out last week.  The older children loved to ride around them room.
         may 17 023
The younger children loved to get up close and nuzzle.
        may 17 024
And then I noticed that the older children were feeding their
horses the wood pellets in the sensory table.
     may 21 001
It got us talking about what horses like to eat.  Today for snack
we had horse food; apples, carrots and hay (shredded wheat).
          may 21 019
          There was a bit of neighing going on.

Monday, May 20, 2013

Alphabet Rocks

         may 9 048
I’ve noticed that many of the children love rocks.  They pick them up on their walks, they fill their buckets when they are at the beach and often they’ll arrive at school to show me a rock they have in their pocket.
                may 10 021
One day when I was at the beach I collected rocks and decided to make
ABC rocks. 
                 IMG_7423
Each letter of the alphabet has two rocks; one for the upper case letter
and the other for the lower case.
           IMG_7431
The little white cups have the same letters printed on them.  They can drop the two matching rocks into their cup.
                may 10 019
As the children played with the rocks they didn’t always put the rocks into the cups.  They enjoyed moving the rocks around, feeling them and turning them over.  Carefully exploring each rock.

Sometimes they would ignore the rocks and simply stack the cups within each other.  I noticed this same thing after they finish their snack.  They like to stack their drinking cups as high as it will go. 

Hmmm, I’ll have to put just cups on another table and see what they’ll do with them.

Sunday, May 19, 2013

Bus Makeover – Part 4

IMG_7532 may 15 010 may 15 013
The next day, at school, we began painting the bus.
      may 15 001
At the art table we had collected materials from our storage
and art areas for the children to create parts to add to our
cardboard bus.  Unfortunately I don’t have any pictures of
them creating only of the finish pieces.
may 15 033 New black tires.
may 15 051Mirrors for the driver.
may 15 050 Hand straps in case we have to stand.
may 15 049 The pull cord when we get to our bus stop.
may 15 052 The money drop box.
may 15 053
A destination panel, lights and license plate adorn the front
of the bus.
may 15 048 Rear view of the bus.

"All aboard", the bus is ready to roll and passengers are waiting.
may 17 016 may 17 014
may 15 030 may 15 031
The passengers pay as they step on to the bus.
 may 15 063 may 15 062
The driver checks that all are on board and the bus is on it’s way.

This project has included planning, designing, building,investigating,
exploring and sharing our ideas.  It has allowed us to follow the
interests of many children, of various ages, in our program and
create alongside them in the development of a new dramatic play
area with exposure to real life experiences.

Thanks for joining us on this trip of playing and learning.

Saturday, May 18, 2013

Really Getting to Know about Buses - Part 3

IMG_7445 IMGP0906
This week we had an opportunity to visit the transit
bus yard to get a really close look at a bus.
IMG_7441  IMGP0903
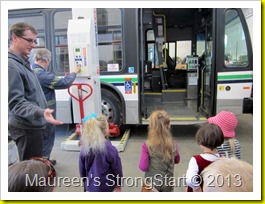
Mr. Richards, the manager and the mechanic, Trevor, showed
us around the bus.  First he raised the bus really high; high
enough for him to walk underneath.
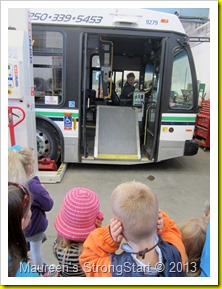
IMG_7446  IMG_7448
After he lowered the bus he showed us the ramp and invited
us on board.
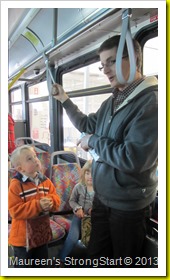
IMG_7450 IMG_7454
On board we saw different straps.  Some hanging from the
bars above for people to hold on to if they have to stand. 
And a different strap down below the seat to tie down a
wheel chair.
IMG_7451 IMG_7453
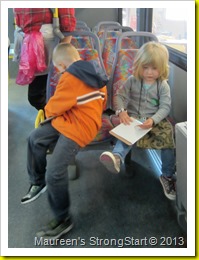
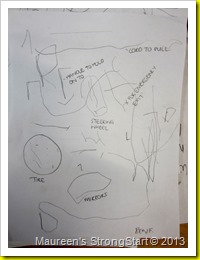
Each child had their clipboard with paper and pencil so
they could draw pictures of the different parts of the bus. 
(We'll use this information later at school to add more parts
to our cardboard bus.)
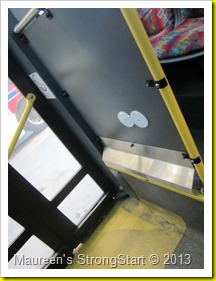
IMG_7455 IMG_7457
By the doors we saw reflector lights and safety signs.
IMG_7484 IMG_7485
Mr. Richards showed us the stop button and we all
had a turn to press it.
      IMG_7487
We heard the ding and saw the sign light up each
time we pressed the button.
IMG_7466 IMGP0911
An exciting part was to pretend to drive the bus and
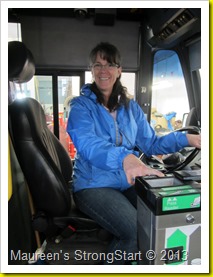
IMG_7475 IMG_7471
where we drop our money to make the clink-clink sound.
The driver on the bus says, "Don’t forget to pay."

IMGP0929Outside the bus we saw…
IMG_7490 IMG_7491
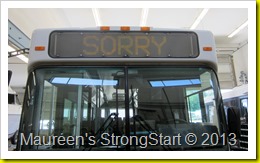
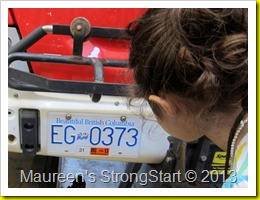
the destination panel that tells us where the bus is going
and the license plate,
IMG_7494 IMG_7495
the big engine and where the diesel fuel is pumped.
IMG_7497  IMG_7499
       IMG_7500
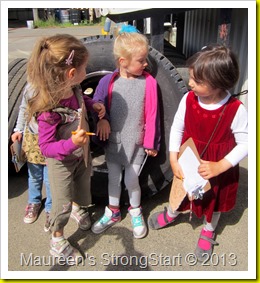
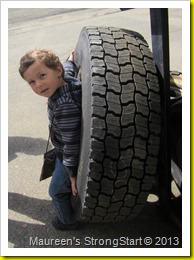
We found extra tires and measured them by using our bodies. 
IMGP0936 IMGP0943
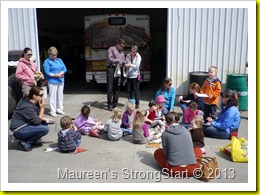
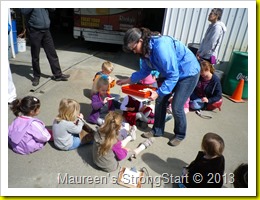
We gathered outside, enjoyed a snack and talked about all the
different things we saw.
IMG_7461  IMG_7526
Some of the documentation the families did on the tour.

One of the highlights of our tour was meeting a couple
of bus drivers.
   IMG_7478
Thanks so much to Mr. Richards, Trevor, Kenny and Sarahlyn
for making our tour exciting and very informative.

 Tomorrow's post will show you how we made changes to our
cardboard bus back at school.