This week's sign is 'hat'
Use an open flat hand and tap the top of your head.
Sunday, January 16, 2011


Saturday, January 15, 2011
Story - The Princess and the Pea
 This week's fairytale was The Princess and the Pea.
I made this bed from a wooden tray and added legs. Built the ladder from dowel and popsicle sticks. The mattresses, I had hoped to sew but it's been a busy week so I cut them from fun foam sheets. I used a little green bead for the pea. And dolls for the characters.
Here's the video of the story: Sorry for the interruption close to the beginning but the program is in a school and it happens.
Here's the video of the story: Sorry for the interruption close to the beginning but the program is in a school and it happens.
Friday, January 14, 2011
A Snowstorm in Screen Painting
Today we brought out our new screens for painting. My husband made these frames for me from old picture frames and window screening. He stapled the screening onto the back of the frame so it would be nice and taut. I also found this old kitchen splatter screen.
 But they needed grown up help to use it. I thought it was good coordination practice.
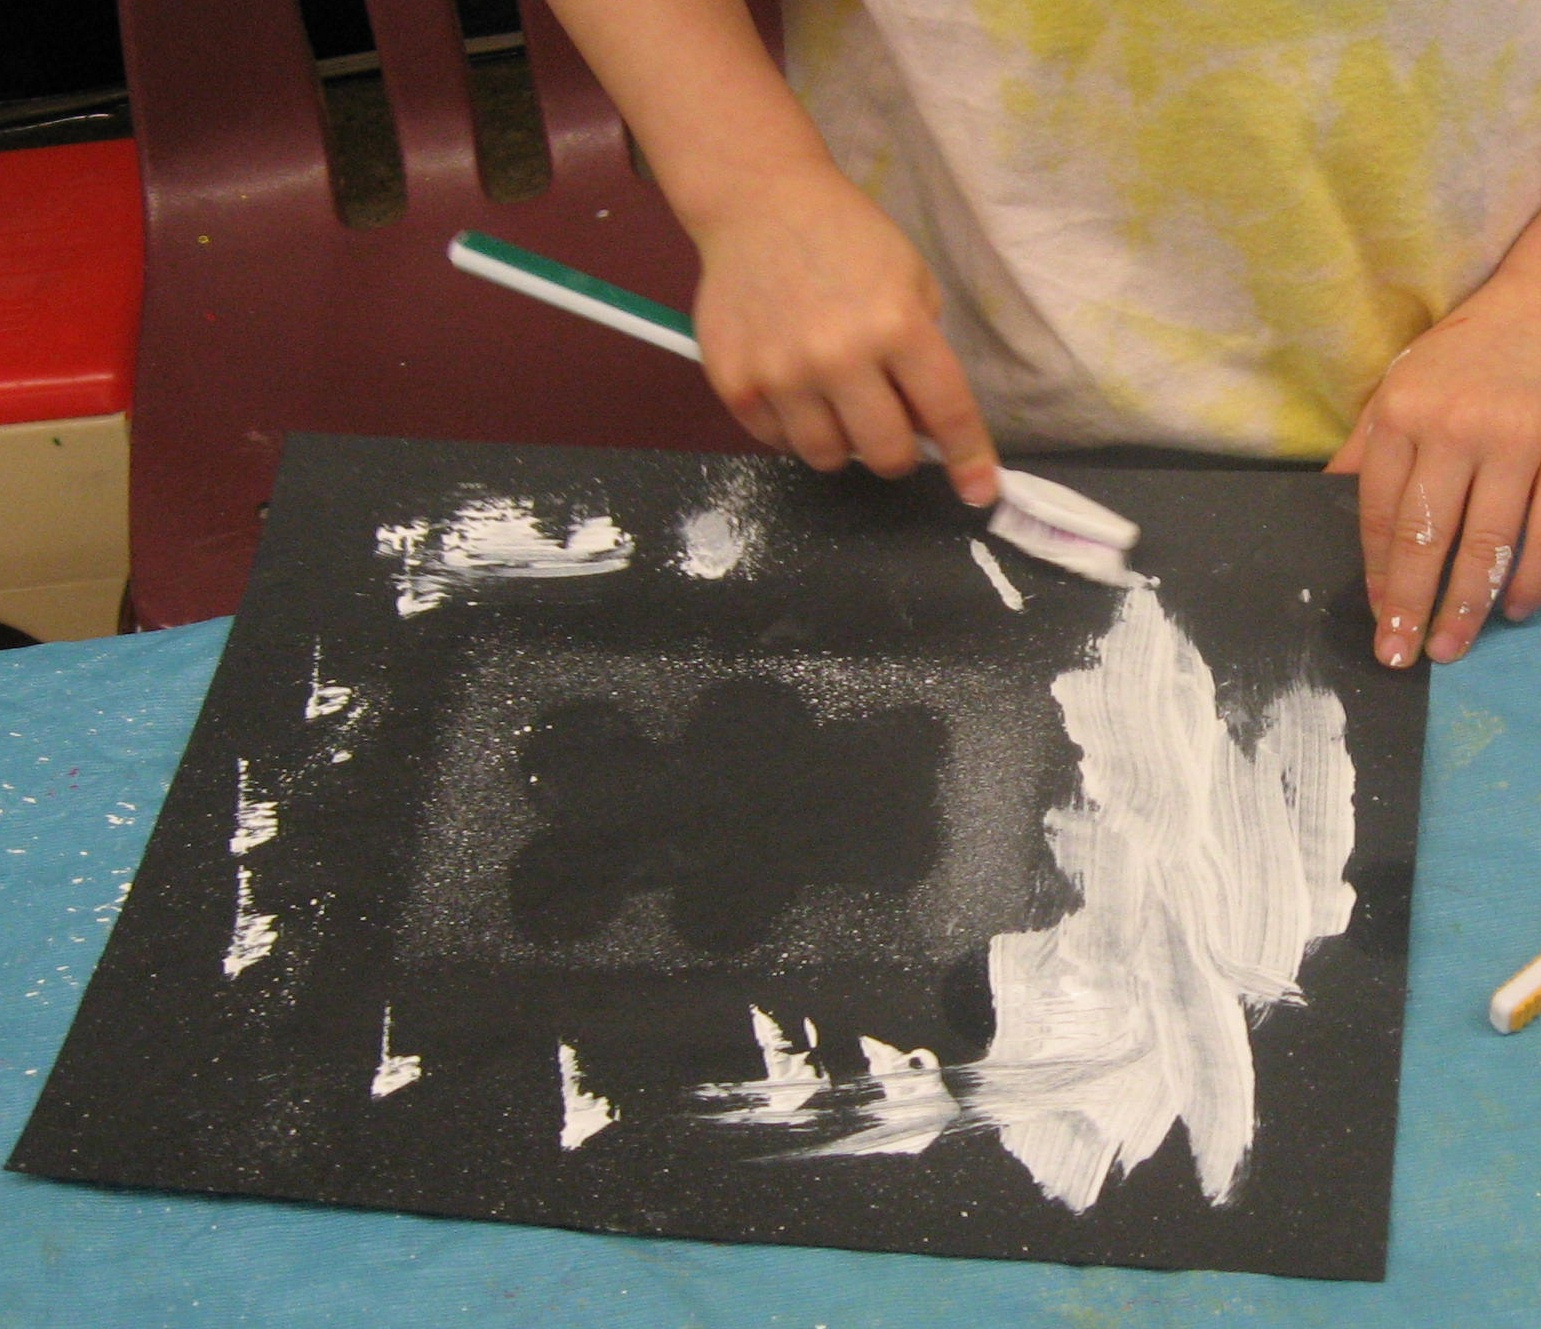
 Under the screens the children could place shaped sponges or shaped foam pieces. Most of the children used toothbrushes but I also had available a big scrubbing brush. Not the easiest to use.
 The idea is to brush the paint over the screen so it would splatter down on to the paper below and if there is an object below then when removed you could see the outline.
 However most of the children enjoyed coating the screen with as much paint as possible. Not really concerned (or aware) of the effect that was happening under the screen.
 When the screens were removed some still wanted to continue painting with the brushes.


The difference in age and ability is apparent in the finished project.


Both are beautiful and pleasure was had in the making by all.
 I also found this old kitchen splatter screen.
 But they needed grown up help to use it. I thought it was good coordination practice.
 Under the screens the children could place shaped sponges or shaped foam pieces. Most of the children used toothbrushes but I also had available a big scrubbing brush. Not the easiest to use.
 The idea is to brush the paint over the screen so it would splatter down on to the paper below and if there is an object below then when removed you could see the outline.
 However most of the children enjoyed coating the screen with as much paint as possible. Not really concerned (or aware) of the effect that was happening under the screen.
 When the screens were removed some still wanted to continue painting with the brushes.
The difference in age and ability is apparent in the finished project.


Both are beautiful and pleasure was had in the making by all.
Thursday, January 13, 2011
Snow Fun Indoors


We were back at school today after being closed for a "snow day". I thought we would have lots of snow activities indoors.
I set up a snow cave with stuffed polar animals, water for the seals and an ice berg for the penguins.


Snow was brought in from outside,
 Snowflakes were made at the craft table,

Games,


and quiet moments for stories.


Wednesday, January 12, 2011
It's a Snow Day have some Hot Chocolate
 It's a snow day here and all schools are closed so snuggle in with a hot chocolate and homemade marshmallows.
 We've enjoyed hot chocolate and marshmallows (cut into snowflakes and snowman shapes) for snack for the past two days.
Here's the recipe I used from the Food Network Site - Alton Brown's recipes
Ingredients
- 3 packages unflavored gelatin
- 1 cup ice cold water, divided
- 12 ounces granulated sugar, approximately 1 1/2 cups
- 1 cup light corn syrup
- 1/4 teaspoon kosher salt
- 1 teaspoon vanilla extract
- 1/4 cup confectioners' sugar
- 1/4 cup cornstarch
- Nonstick spray
Directions
Place the gelatin into the bowl of a stand mixer along with 1/2 cup of the water. Have the whisk attachment standing by.
In a small saucepan combine the remaining 1/2 cup water, granulated sugar, corn syrup and salt. Place over medium high heat, cover and allow to cook for 3 to 4 minutes. Uncover, clip a candy thermometer onto the side of the pan and continue to cook until the mixture reaches 240 degrees F, approximately 7 to 8 minutes. Once the mixture reaches this temperature, immediately remove from the heat.
Turn the mixer on low speed and, while running, slowly pour the sugar syrup down the side of the bowl into the gelatin mixture. Once you have added all of the syrup, increase the speed to high. Continue to whip until the mixture becomes very thick and is lukewarm, approximately 12 to 15 minutes. Add the vanilla during the last minute of whipping. While the mixture is whipping prepare the pans as follows.
For regular marshmallows:
Combine the confectioners' sugar and cornstarch in a small bowl. Lightly spray a 13 by 9-inch metal baking pan with nonstick cooking spray. Add the sugar and cornstarch mixture and move around to completely coat the bottom and sides of the pan. Return the remaining mixture to the bowl for later use.
When ready, pour the mixture into the prepared pan, using a lightly oiled spatula for spreading evenly into the pan. Dust the top with enough of the remaining sugar and cornstarch mixture to lightly cover. Reserve the rest for later. Allow the marshmallows to sit uncovered for at least 4 hours and up to overnight.
Turn the marshmallows out onto a cutting board and cut into 1-inch squares using a pizza wheel dusted with the confectioners' sugar mixture. Once cut, lightly dust all sides of each marshmallow with the remaining mixture, using additional if necessary. Store in an airtight container for up to 3 weeks.
For miniature marshmallows:
Combine the confectioners' sugar and cornstarch in a small bowl. Line 4 half sheet pans with parchment paper, spray the paper with nonstick cooking spray and dust with the confectioners' sugar mixture.
Scoop the mixture into a piping bag fitted with a 1/2-inch round piping tip. Pipe the mixture onto the prepared sheet pans lengthwise, leaving about 1-inch between each strip. Sprinkle the tops with enough of the remaining cornstarch and sugar mixture to lightly cover. Let the strips set for 4 hours or up to overnight.
Cut into 1/2 inch pieces using a pizza wheel or scissors dusted with the confectioners' sugar mixture. Once cut, lightly dust all sides of each marshmallow with the remaining sugar mixture and store in an airtight container for up to a week.
Tuesday, January 11, 2011
Velcro Block Building
Over the Christmas break I was surfing the many wonderful blogs that are full of ideas and found this one , Chasing Cheerios that had made Velcro Blocks. I thought this idea was amazing and so simple to make. Plus I had some old wooden blocks that would be great for this project.
 I purchased self adhesive velcro and stuck them on the sides of the blocks.
What I love about this activity is it is great for toddlers. The towers they build stay together instead of toppling over.
 This child called his sculpture "The Tower of Power".
 I purchased self adhesive velcro and stuck them on the sides of the blocks.
What I love about this activity is it is great for toddlers. The towers they build stay together instead of toppling over.
 This child called his sculpture "The Tower of Power".
A mom and her son were visiting the program one morning shortly after the Christmas break was over and she saw the velcro blocks and thought they were a great idea (she has a family home day care and was thinking of copying the idea. I love how that happens). But she thought it would be great for kids to use something to saw the blocks apart. Well I happen to have several toy saws and we put her idea to the test.
 We found that the saws I had had blades that were too thick to fit through but we searched through the tools and found this level that was thin enough to work. We also learned that tongue depressors worked well too.
 If all else fails, pry the blocks apart.
 We found that the saws I had had blades that were too thick to fit through but we searched through the tools and found this level that was thin enough to work. We also learned that tongue depressors worked well too.
 If all else fails, pry the blocks apart.
Monday, January 10, 2011
Snow, Snow, No Snow
Oh how I'm waiting for it to snow outside. But in the meantime we've had fun with snow activities indoors. We built a snow scene today. One thing that I've noticed is that children like to play with miniatures. I've been stocking up as I Thrift store shop.
First I put a sheet of sytrofoam in a cardboard box tray. Added a dome shaped styrofoam on top at one end of the box, then covered it all with white cotton batting. It looked like a snow hill.
Available to add were mini styrfoam balls, people, animals, sleds and trees (really tree ornaments).
 The play began as soon as the first child arrived. Oh there were also little troll dolls (the ones with lots of hair) and little rabbits that had skiis on their feet.
 I enjoyed listening to the stories that were being created as they played.


 We built a snow scene today. One thing that I've noticed is that children like to play with miniatures. I've been stocking up as I Thrift store shop.
First I put a sheet of sytrofoam in a cardboard box tray. Added a dome shaped styrofoam on top at one end of the box, then covered it all with white cotton batting. It looked like a snow hill.
Available to add were mini styrfoam balls, people, animals, sleds and trees (really tree ornaments).
 The play began as soon as the first child arrived. Oh there were also little troll dolls (the ones with lots of hair) and little rabbits that had skiis on their feet.
 I enjoyed listening to the stories that were being created as they played.

At the craft table we made snowstorms using white paint,. bubble wrap and sparkles.


Still waiting for it to snow outside, the forecast is for late tomorrow. I hope so!


Still waiting for it to snow outside, the forecast is for late tomorrow. I hope so!
Subscribe to:
Posts (Atom)